ICON PACK INSTALLATION
This document describes detailed description of Winamp Icon Pack installation (there are few Icon Pack installers - this is just example description of installation of one of them). The installer is created in NSIS application. Installation process is very easy and intuitive. You can install Icon Packs in few steps described below.
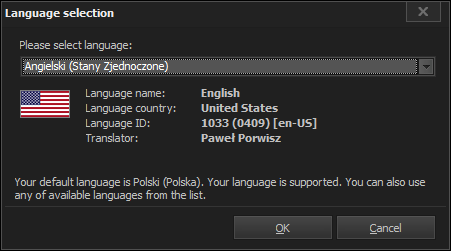
1. Language selection
First window of installer is Language selection window. We can choose between english language (default for english Windows) and other languages. To apply language selection click "OK" button ("Cancel" button cancels the installation).
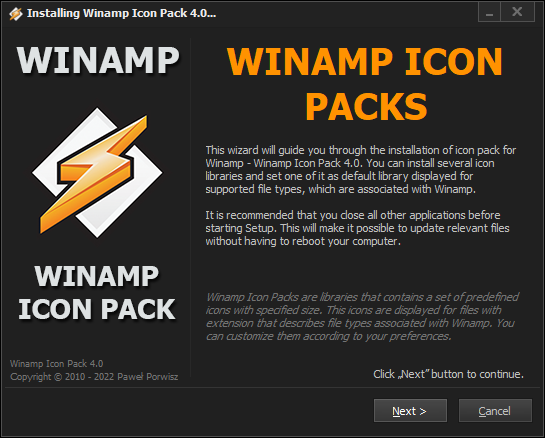
2. Welcome Page
The first page of the installer is Welcome page. This page contains informations about type of installed software and its contents. To go to next page click "Next" button ("Cancel" button stops the installation).
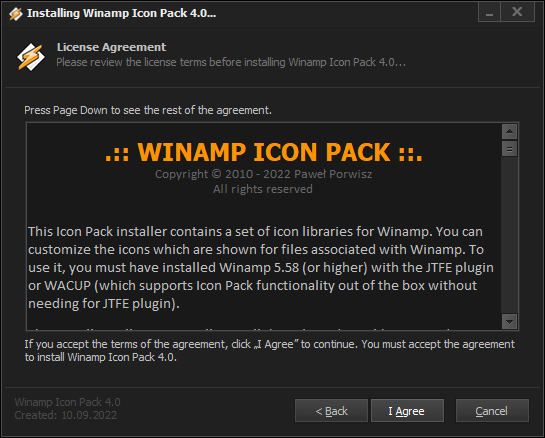
3. License Page
The next page of the installer is License page. The text of the license contains information about the type of installed software, a brief description of the installation, the license conditions and contact information. It is recommended to carefully read this text. After this, click "I Agree" button or close installer if you don't agree with license conditions.
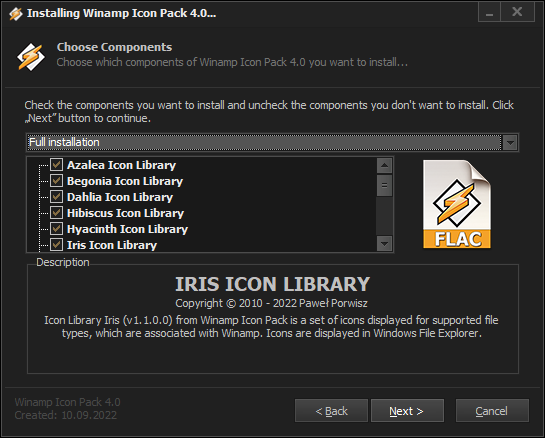
4. Components Page
The next page of the installer is Components Page. You can select here components to install. We can choose between few Icon Packs. Each Icon Pack has a short description, like name, version and copyright informations (description appears below in a special field and which appears when you hover your mouse over the component area). You can see also an example image that presents icons. There are also predefined installation types: All Icon Packs, Icon Packs, and User selection. After selecting the components, click "Next" button.
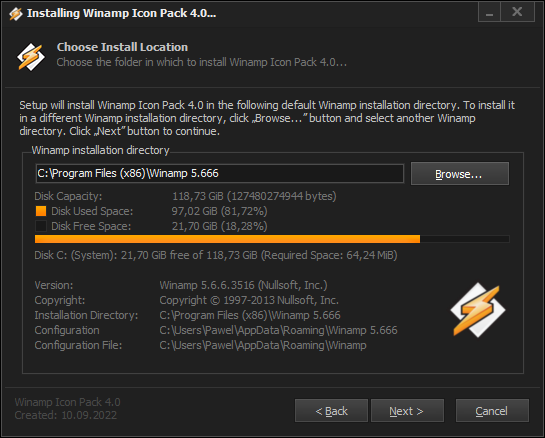
5. Install location Page
The next page of the installer is Install location page. You can specify here the path to the Winamp directory. The installation wizard will automatically detect the Winamp installation directory (by reading information from the Windows Registry). If installer will not detect the path you will have to do it manually using the "Browse..." button. It will display a dialog box with the directory structure, where we can choose the Winamp directory (in 32-bit systems the default Winamp directory is: "C:\Program Files\Winamp\". In 64-bits systems the default Winamp directory is: "C:\Program Files (x86)\Winamp\"). Installed Icon Packs will be copied to the relevant subdirectory "\Plugins\Icons\". Install location page shows Winamp installation information and required and available space on your hard drive. After selecting the directory, click "Next" button.
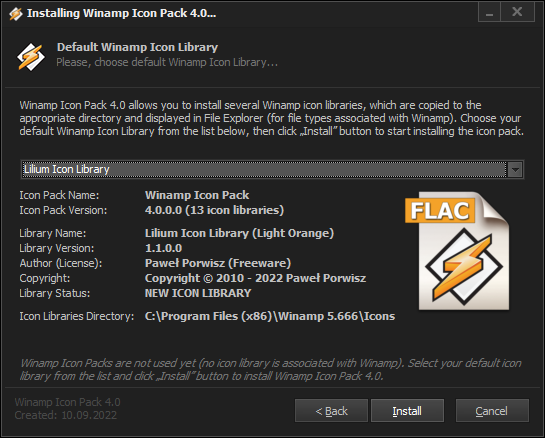
6. Default Icon Pack Page
The next page of the installer is Default Icon Pack Page. You can choose here your default Icon Pack. Dropdown list contains all Icon Packs you choose to install on previous page. By default the first Icon Pack is selected or the Icon Pack you already installed and use. You can change your selection here and choose default Icon Pack. After selecting default Icon Pack, click "Install" button. It will start installation process.
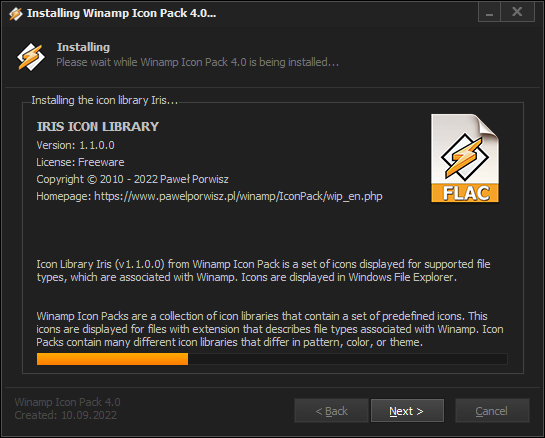
7. Installation Page
The next page of the installer is Installation page. This page displays installation progress. Installation log contains information about installed components and its target location. When finished, click "Next" button.
8. Donation
The next page of the installer is a page that allows to donate the project. Creating and developing Icon Packs for Winamp requires a lot of time, patience and some financial expenses. You can help develop the project and make it better. If you want, you can make a donation of any amount to the given account or using PayPal. Each, even the smallest support, makes sense and motivates for further work!
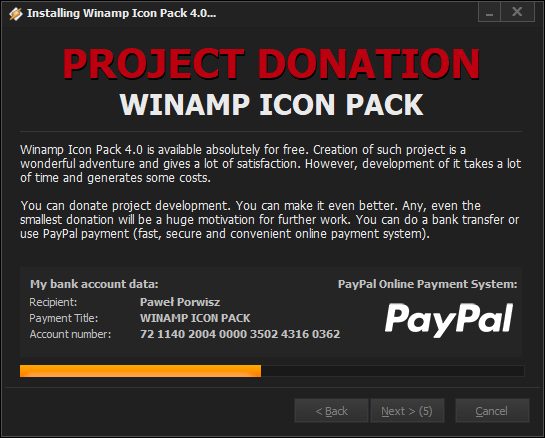
Click "Next" button to continue (available after 10 seconds).
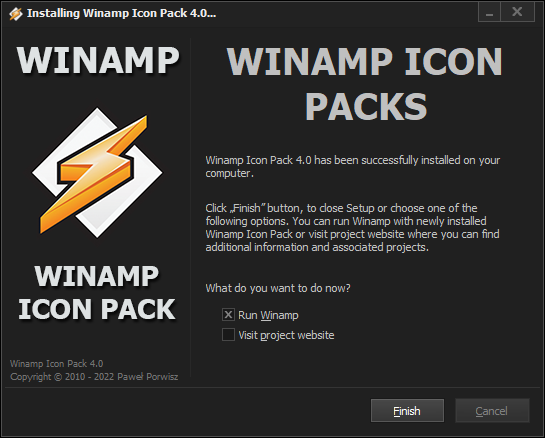
9. Finish Page
The last page of the installer is Finish page. This page informs that installation was successful. This page also allows to execute some actions before closing the installer. First of all, it is possible to run Winamp. But, you can also download more Icon Packs or make a project donation. To close the installation wizard click the "Finish" button.
That's all! Now, you can enjoy new icons displayed for files associated with Winamp. All changes will be applied after running the Winamp.